Spring Cleaning Plumbing Maintenance Tips for Your Home
Preventative Ways to Avoid Weather-Driven Plumbing Issues
Whether it’s the start of winter, or transitioning from winter to spring, weather can put serious strain on your home’s plumbing system. But don’t panic, we have listed common plumbing occurrences which will allow you to prevent and protect your home’s plumbing system from those pesky weather-driven plumbing problems. Most tasks to upkeep your home’s plumbing system can be completed easily by yourself, however it’s always good to have a reputable local professional plumber in mind in case something goes south. If your project gets out of hand, you’ll know who to call.
How to Fix a Leaking Faucet (Beginner)
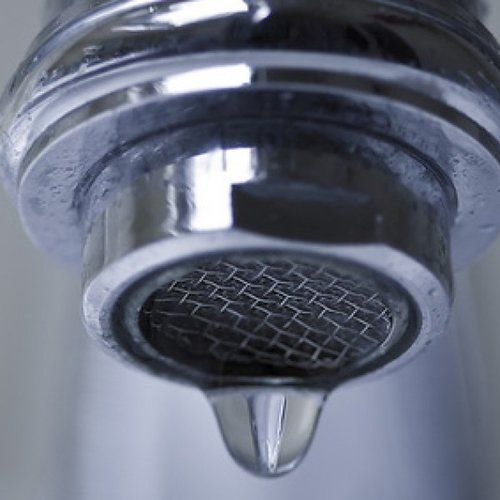
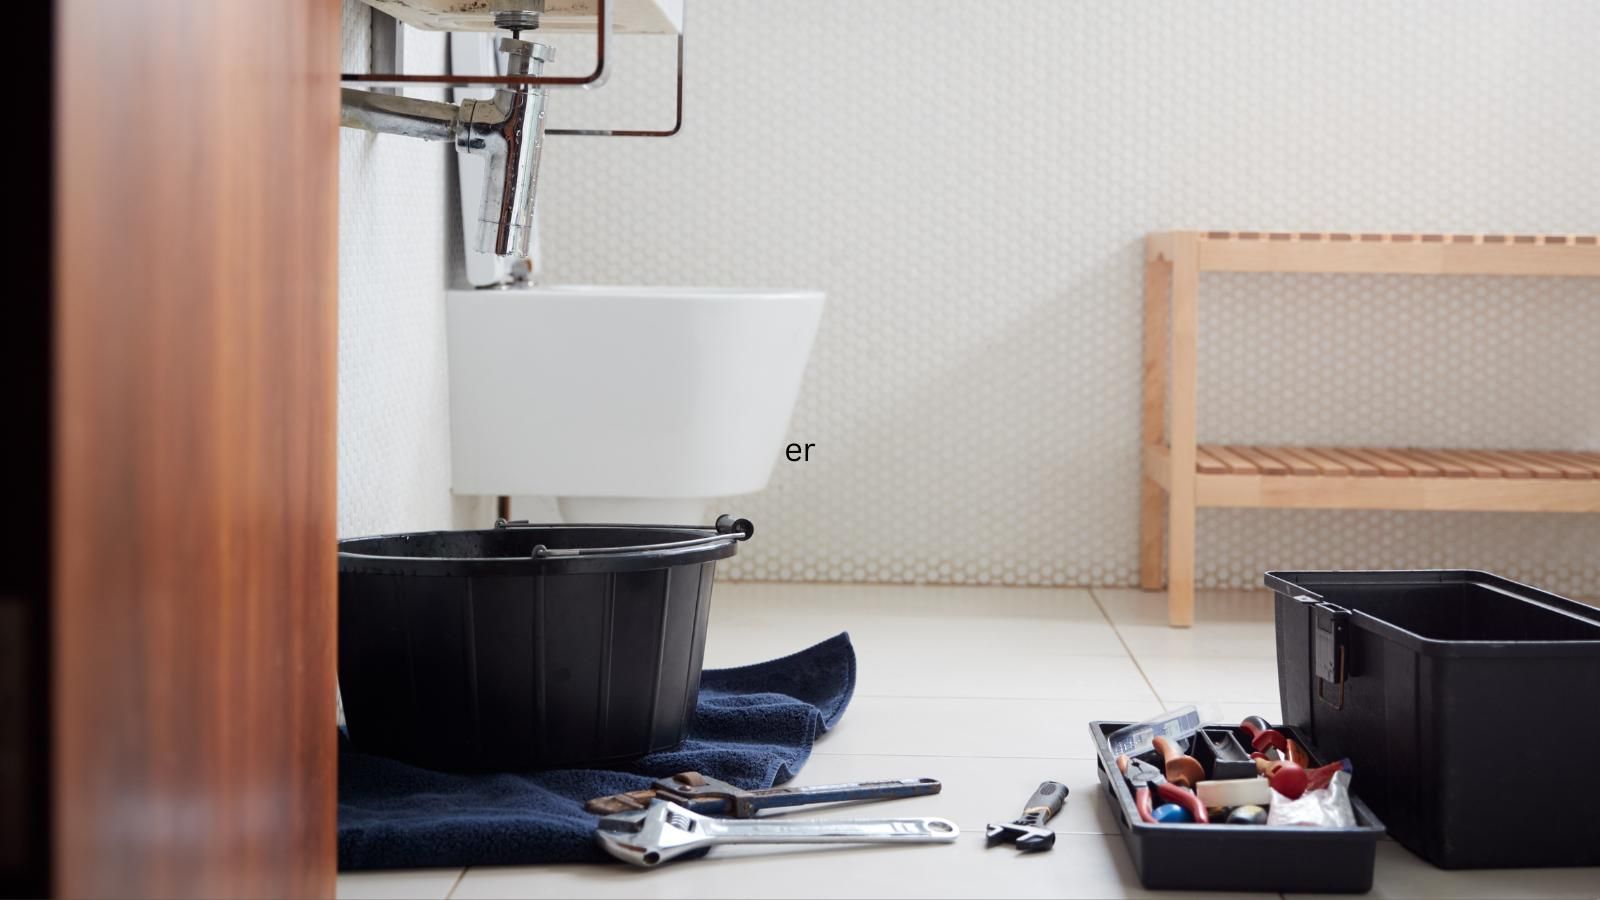
Fixing a leaking faucet not only wastes water over time, but the sound is intensely annoying! But if you have a few tools, we can direct you on how to get the job done. For bathroom, bathtub, or kitchen faucets there are some preliminary things you must do before diving in. This guide is for ball-type faucets which are the most common faucet types currently for bathroom, kitchen, and bathtub faucets.
- Find the water valve under the sink and make sure the water is off
- Use a small towel over the drain to prevent any small parts from going down the drain accidentally
- Designate a place and order to layout the parts as you take them off to remember the order they go back in
- Put a protective layer of tape (electrical, duct tape) on your pliers if you don’t have a set of soft jaws pliers
- Remove any mineral deposits on faucet fixtures with white vinegar and light scrubbing
Shut the water off by twisting the valve (hint: always remember “righty tighty”) under your sink.
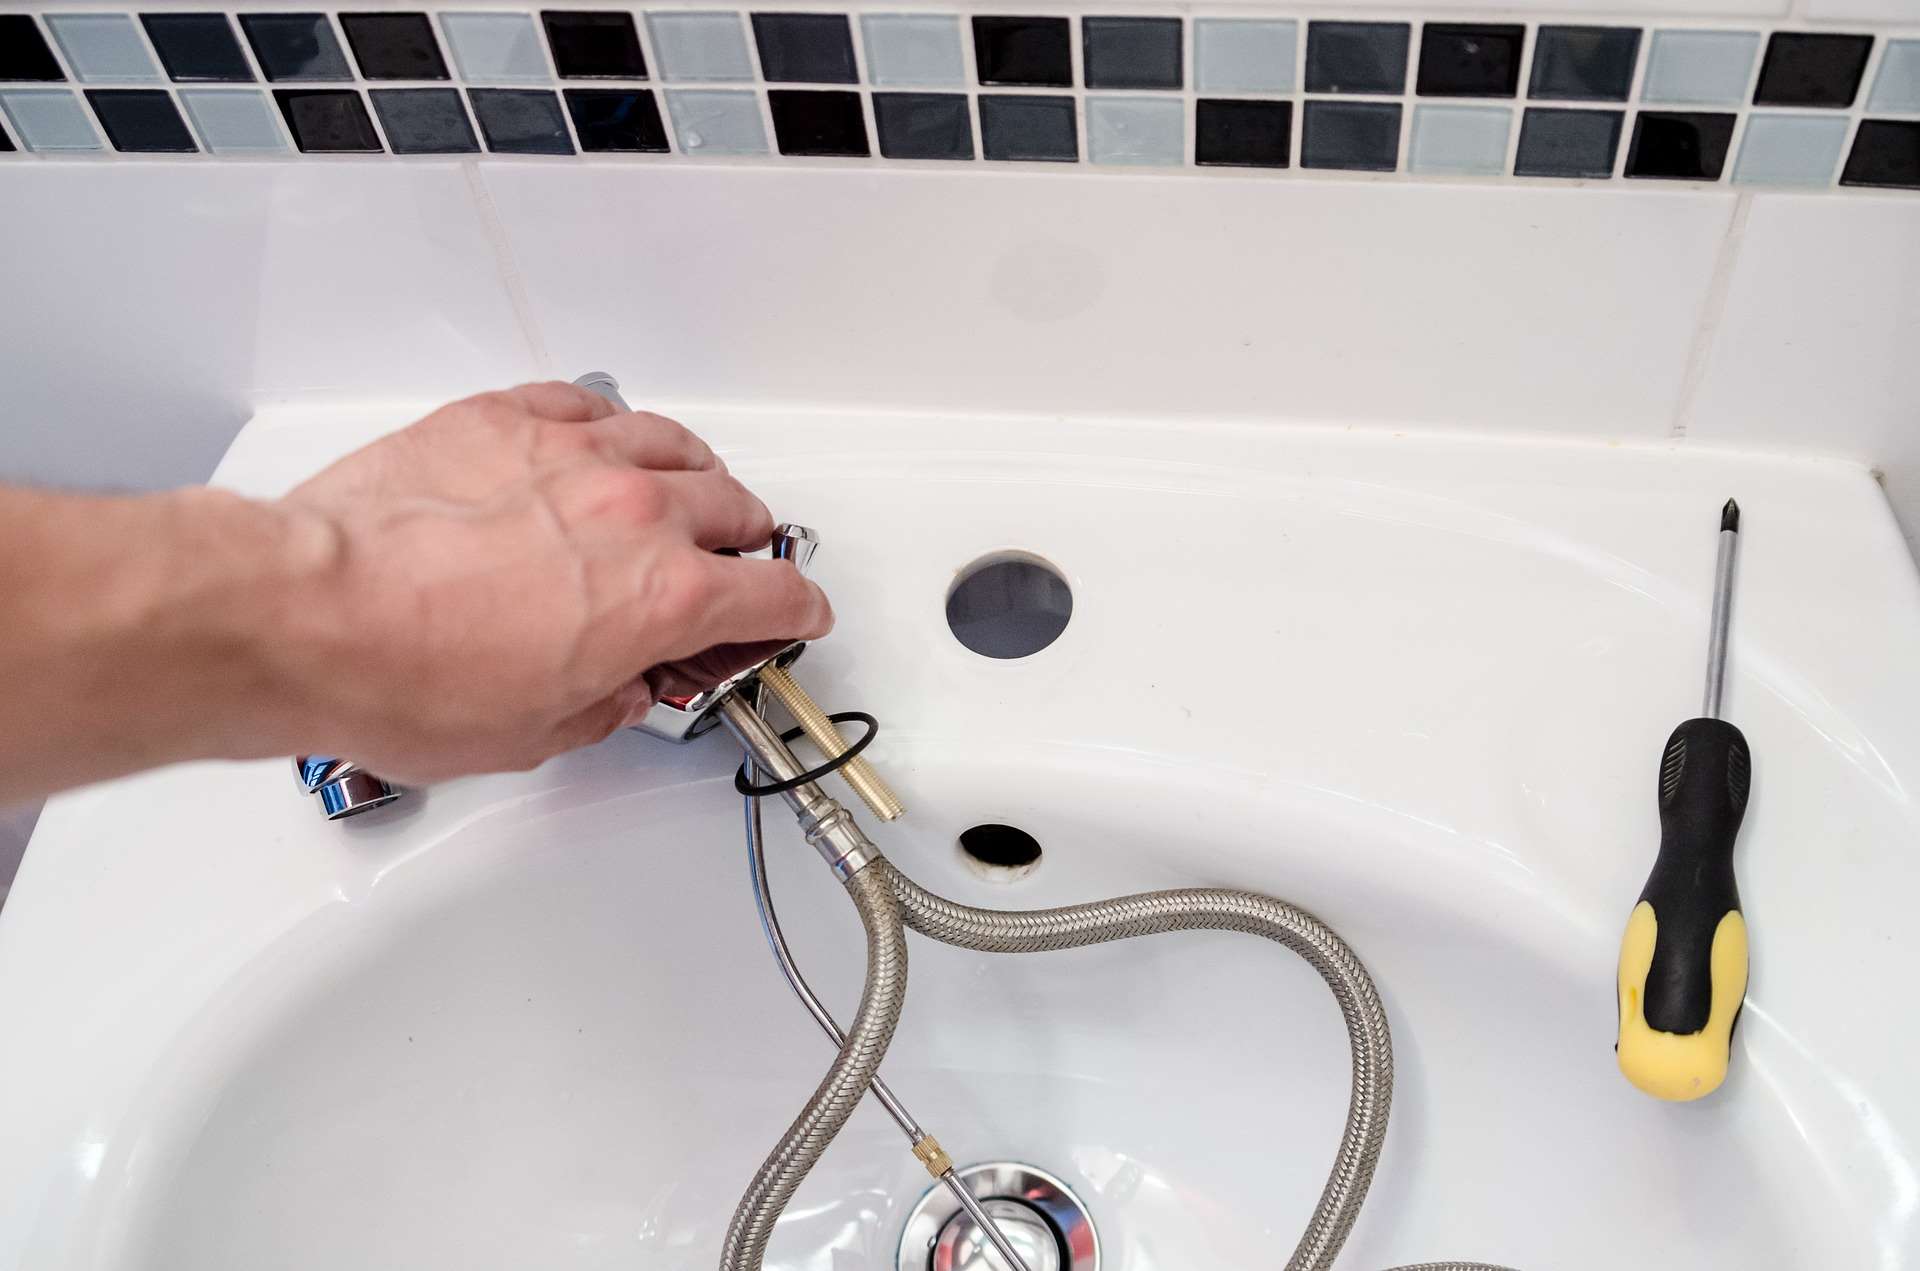
Remove the set screw and handle by using a screwdriver orAllen wrench. Once the cover is removed you should be able to get to the setscrew. You will need a screwdriver or a hex wrench to remove the set screw(hint: lefty loosy). The handle will be loose, and you will be able to pull it free.
One culprit for a leaky tap could be your adjusting ring. If it’s loose, tighten it with a set of needle-nose pliers and run a quick test by turning your water valve on again and testing the water. If your leaking faucet still prevails, you will have to continue by replacing the seats and springs.
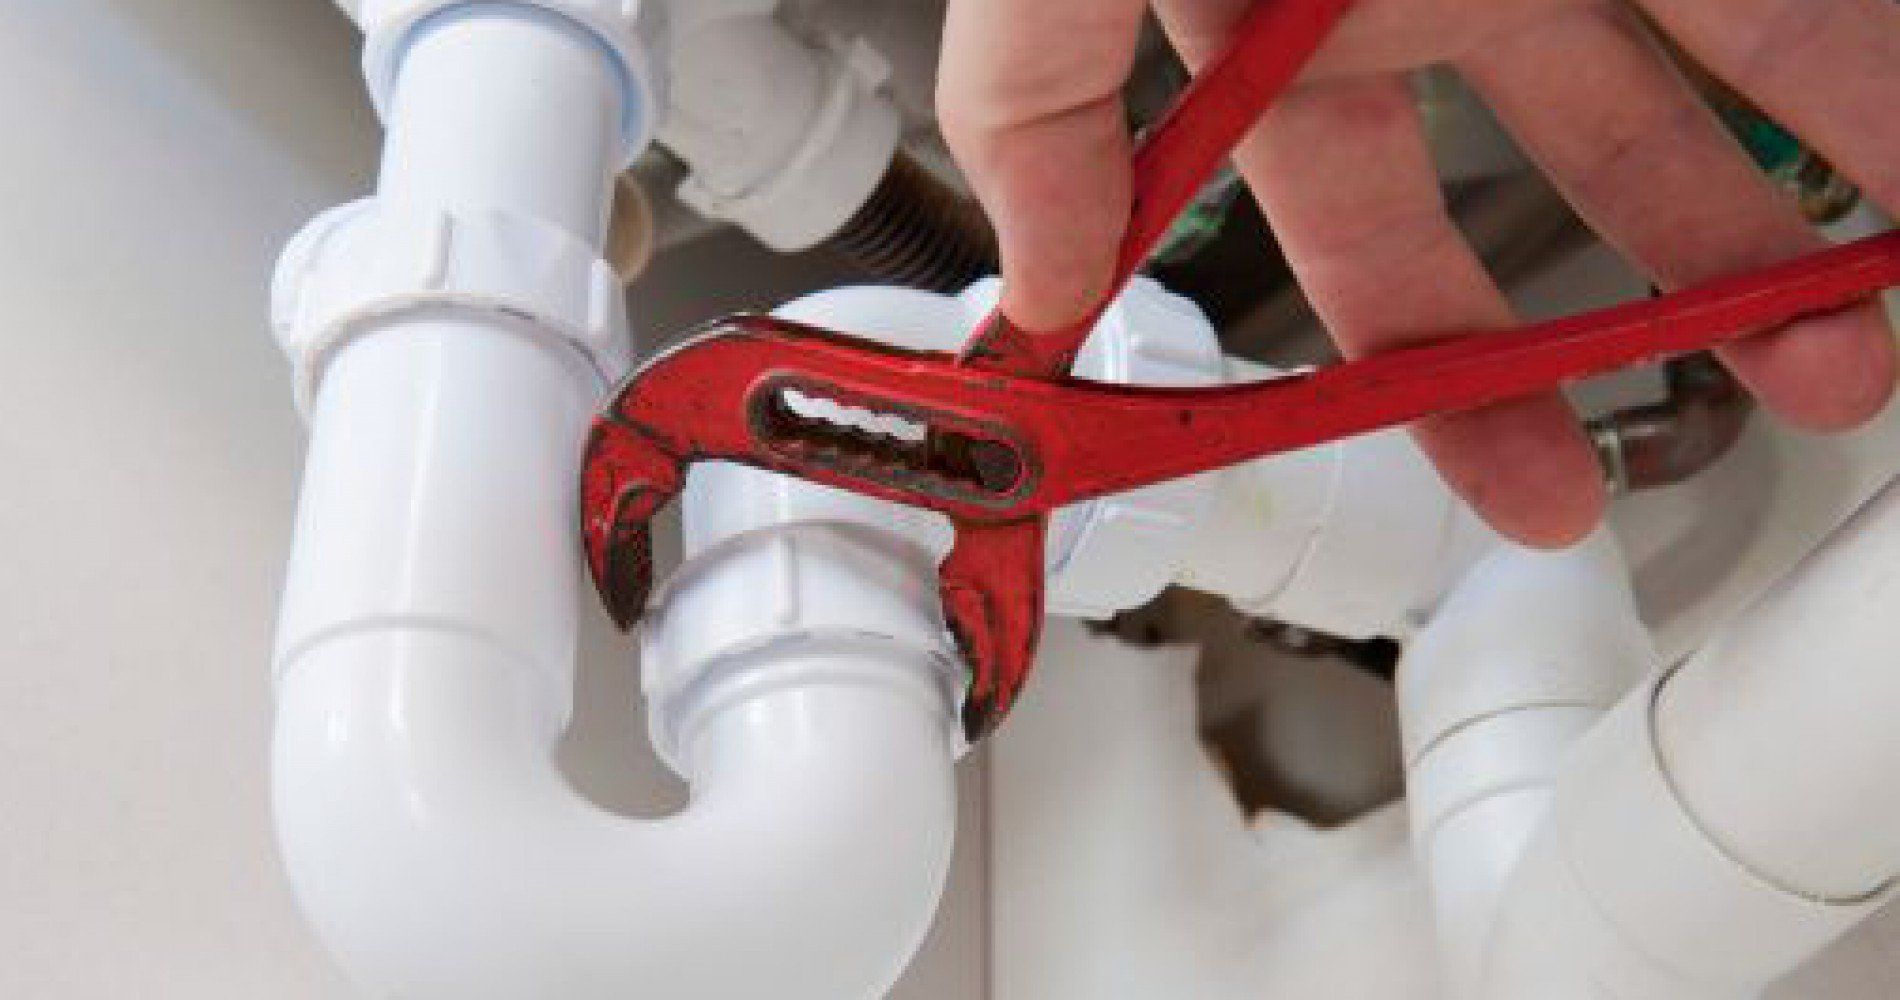
The next step is to remove the handle cap and packing nut.This process requires a little bit of finesse by wrapping a small towel around the housing. Use pliers to loosen and remove. Again, try to be gentle to protect the finish and prevent damage to your bathroom, bathtub, or kitchen faucet.
Remove the cartridge or existing packing by pulling out the round metal stem. You will then see a rubber and plastic insert called the“cam” and the ball assembly. You can find replacement cam and packing parts relatively cheap, so it might be a good idea while you have your bathroom or kitchen faucet disassembled, to replace these. If they are in good condition, remember the position of the holes on the ball (Hint: take a cell phone pic) when you remove it. You will need to return it to its exact position when reassembling.
You will then see two small pairs of circles inside your faucet’s valve known as the “seat and springs”. Pry out both sets of seats and springs, and replace with new ones.
Install a new cartridge by replacing the ball assembly in the original position it was in, and then replace the cam and packing over the ball. Slide the tab on the side of the cam into the slot of the faucet body, and inspect the O-ring. If the O-ring is damaged, replace.
Reattach the packing nut and handle cap by putting the metal casing over the faucet parts and hand-tighten. Replace the adjusting ring and tighten with pliers until the ball feels snug. Attach the handle and your sink is ready for testing! Try running both hot and cold water, shutting off, and watching/listening for leaking. If you have made it this far, and your faucet is still leaking, we recommend calling a professional.
The Leaking Toilet Test (Beginner)
Toilet leaking can increase your water bill and cause your toilet not to flush, which are two very annoying problems. Depending on household size, toilet plumbing is typically used the most so its upkeep is important.There is a simple test to check if you have toilet leaking issues. Simply put food dye in the tank of your toilet. If within half an hour the toilet bowl shows color, you have a leak.While the test is classified as a beginner plumbing task, since there are many components to your toilet, we recommend having a professional diagnose your leaking toilet further.
Protect Your Water Heater (Beginner to Intermediate)
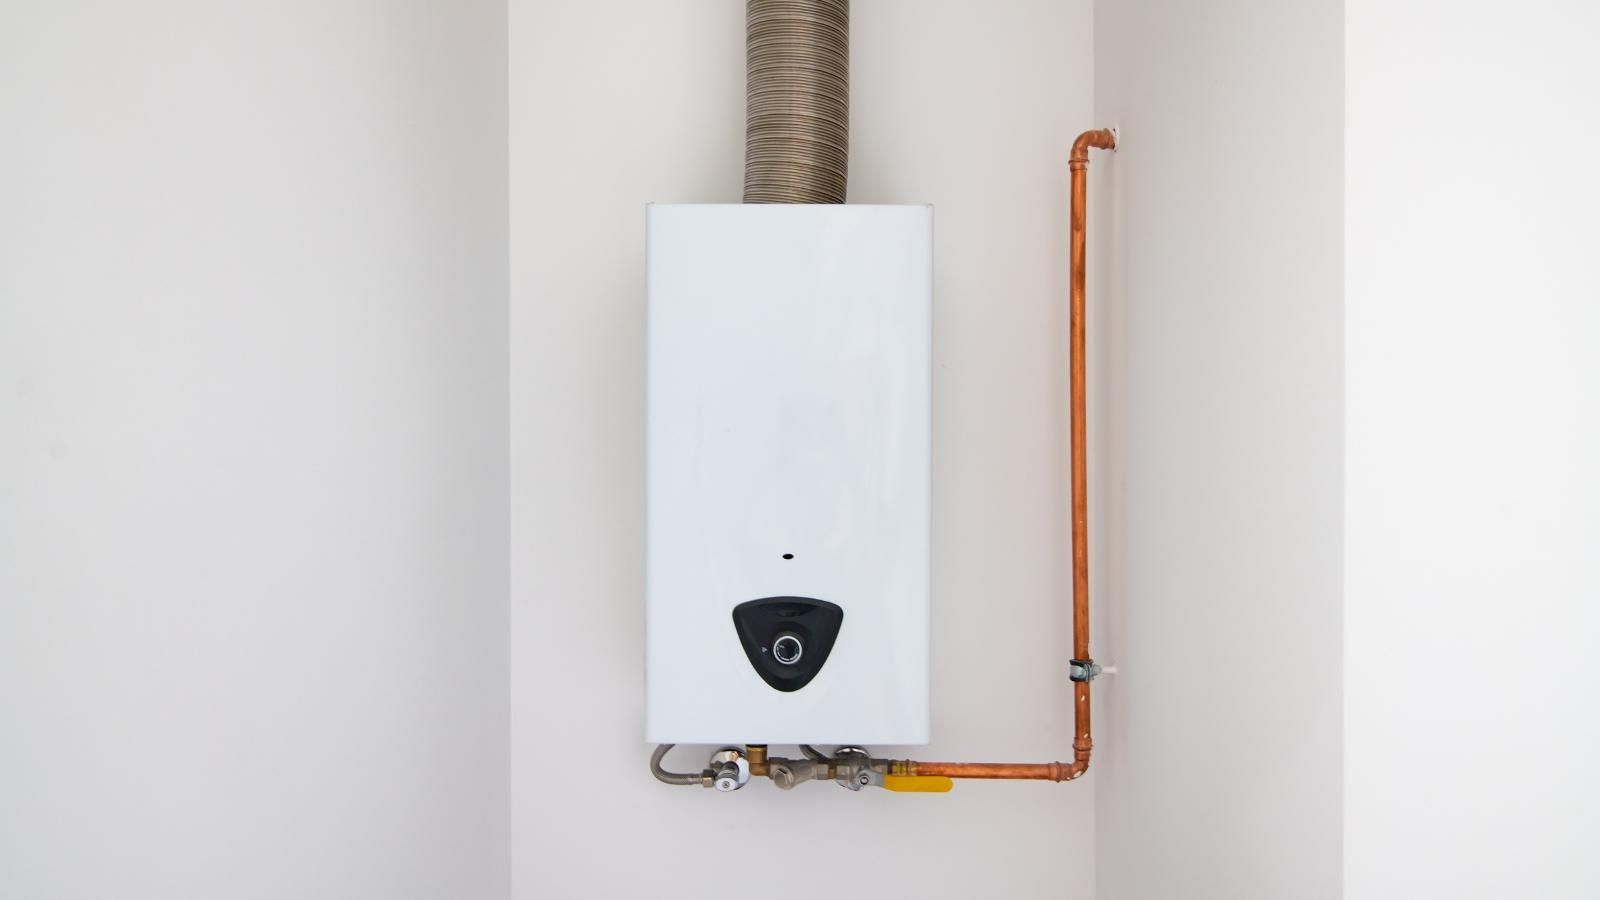
Your water heater is a very important component of your household. How would your family react to cold showers? We know that wouldn’t go over well at our house. Follow these tips to maintain and prevent damage toy our water heater.
*Ensure you are protected with eye protection and gloves
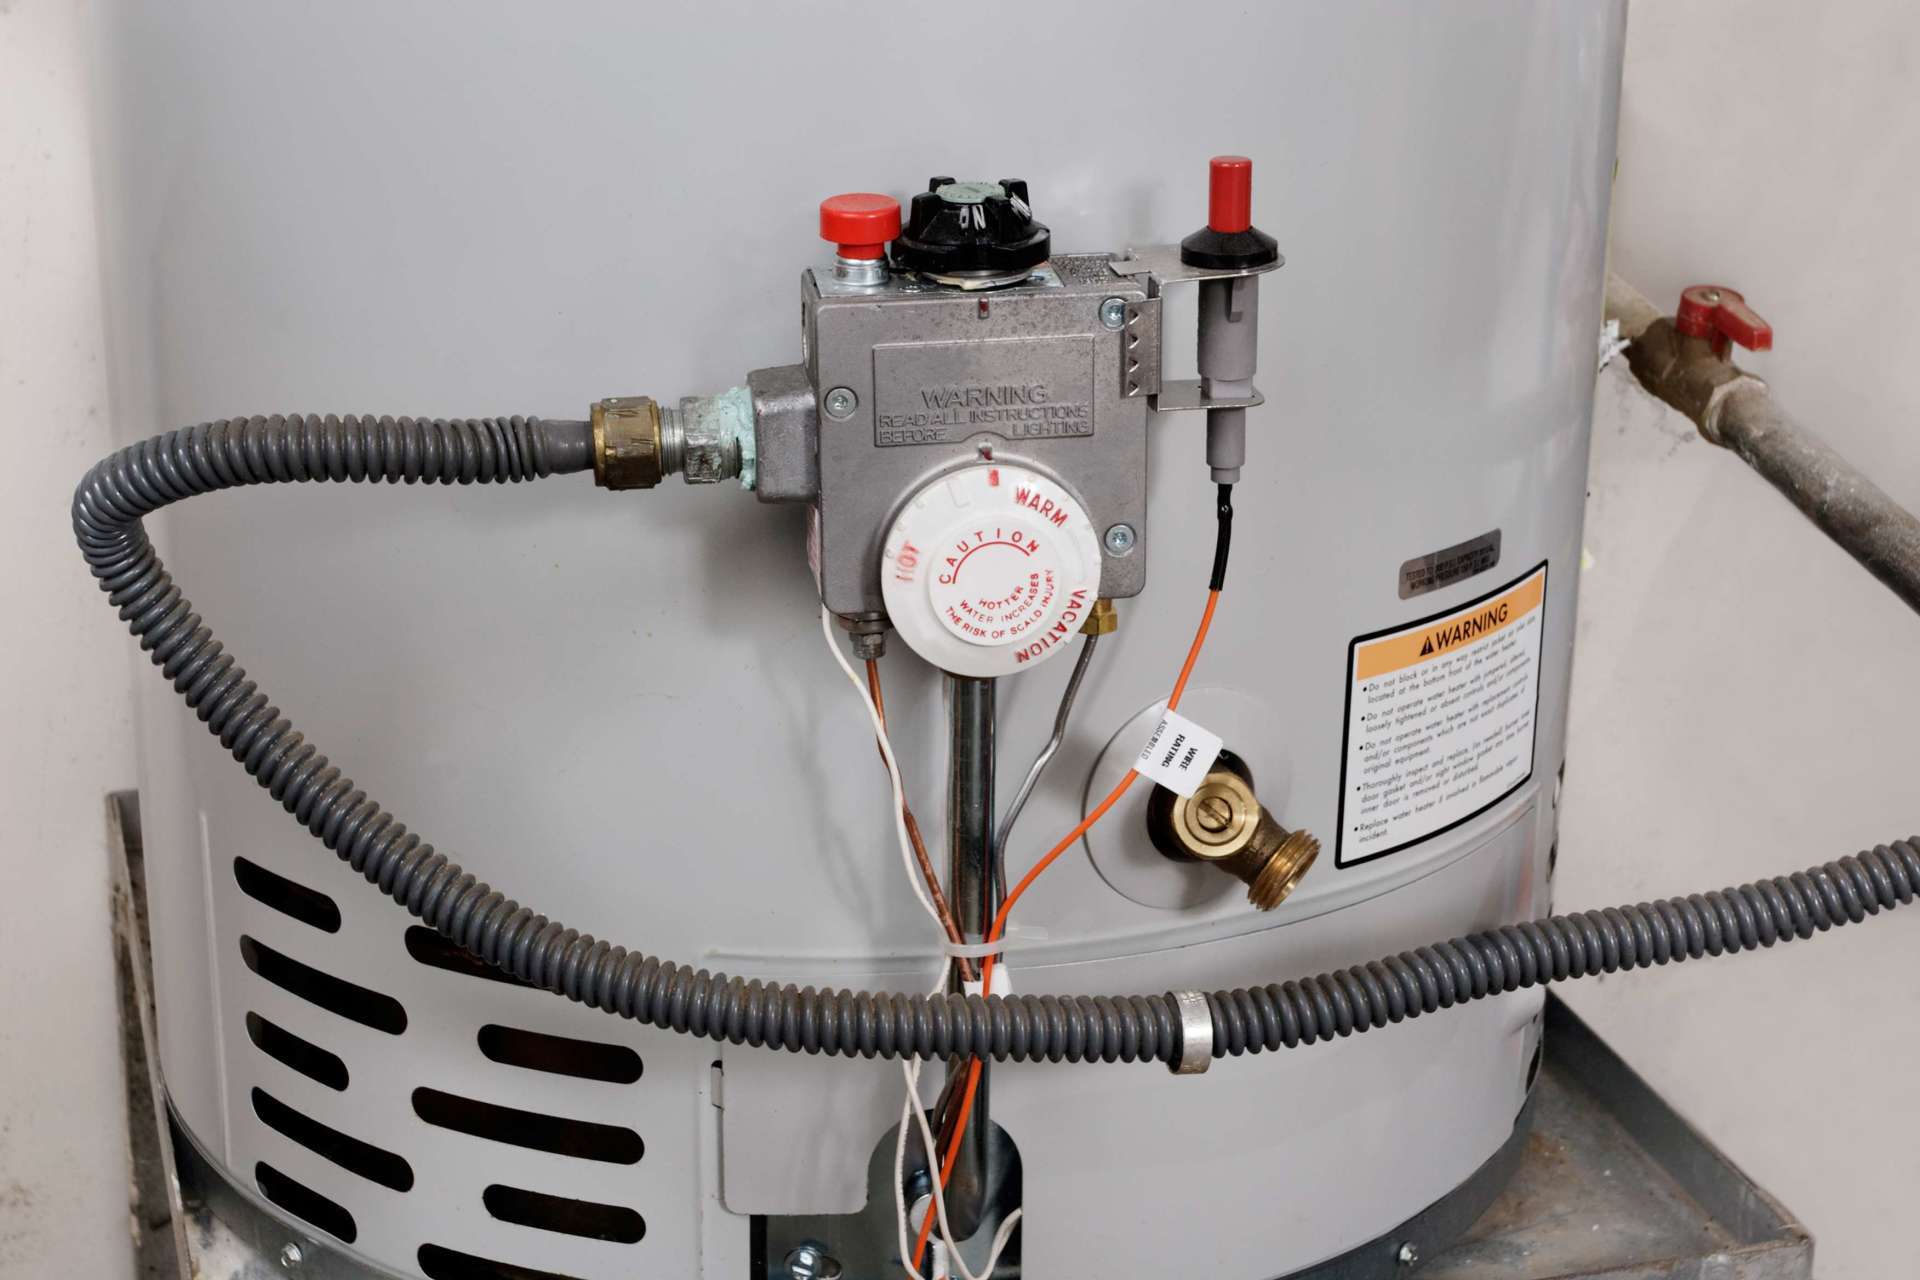
Flushing sediment from your water heater’s tank every six months can prolong its lifespan. Turn off the power to your water heater and run the water until it cools. Then use a garden hose and connect it to the valve at the base of the water heater.
Consider replacing your water heater if it is nearing or has exceeded its life expectancy. Sudden bursts can occur, so prevent sudden cold showers or expensive water damage by assessing your water heaters age.
Corrosion in the tank routinely occurs, to prevent it; an anode rod is typically installed. This should be inspected every 2 years and your water heater may need replacing depending upon its condition.
Shower Head Restoration Trick (Beginner)
Restoring your shower head is so simple, yet can drastically improve your shower head’s performance.
-Fill a plastic bag with about a cup of white vinegar
-Put the bag with vinegar over your shower head and secure with a rubber band (or hair tie)
-Wait 2-4 hours to remove the bag depending on how bad the mineral deposits on your shower head are
-Run your shower for a few minutes to flush the vinegar
Clean your shower head up with a cloth to remove any additional mineral depositsPerform a Sump Pump Inspection (Beginner)
As you may know, a sump pump’s job is to keep your basement or crawlspace dry by removing water that has accumulated or could potentially accumulate. Performing a sump pump inspection is essential to ensuring your plumbing system is running smoothly. Before you inspect your sump pump, you must ensure it is unplugged and completely disconnected from power.
-Check your sump pit for any debris or oil slick (if there is an oil slick, your sump pump is losing coolant and close to the end of its lifespan)
-All sump pumps have an intake screen, check the screen to ensure there are no blockages or obstructions
-The float is a component of the sump pump that gets activated when water pushes it up. Ensure there are no obstructions in the float.
-After these inspections are completed, you are able to plug the sump pump back in and test by pouring water into the sump pit. Listen to make sure the sump pump is doing its job.
A couple additional things to note after inspecting your sump pump: If do not have one, consider getting a backup power source for your sump pump. Additionally, consider getting a backup sump pump. Lightning can cause power failure, and heavy rain can generally overwhelm your sump pump causing it to fail.Rotate Water Valves to Prevent Sticking (Beginner)
Even though it’s probably not the first thing people think of, rotating your water valves a few times a year to prevent sticking is necessary to annual plumbing upkeep. Minerals and sediment can build up over time on bathroom or kitchen sink plumbing, so by rocking your water valves back and forth this will break that up and help prevent sticking for the future.
Make Sure You Have a Professional Plumber On-Hand
While most of these home spring cleaning plumbing maintenance tips are beginner to intermediate, we strongly recommend having a reputable professional plumber in mind in case something does not goas planned. At Blue Mills Plumbing we have been serving Eastern Jackson County, Missouri for more than 30 years. Our professionals fix it right– the first time, so call us today for a free quote today!
